Essential Tips for Painting Your Kitchen
3 Tips On Correcting Common Paint Problems
July 3, 2019
Which Paint Color is best for Your Master Bedroom?
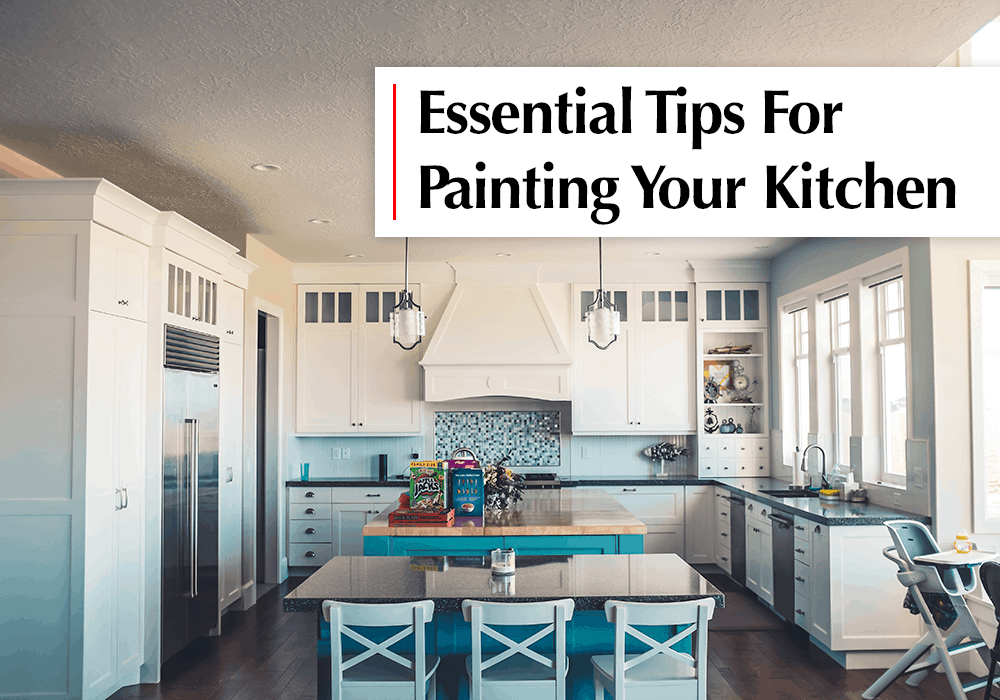
July 17, 2019Other than the living room, the kitchen is probably the busiest room in your home. And as such, it takes a lot of abuse. All the fingerprints, spills, humidity, smoke, temperature fluctuation and exposure to heat can quickly make your kitchen walls look dated and neglected. Luckily, a fresh coat of paint is all you need to restore your kitchen to its original glorious looks and potentially boost your home’s value.
Kitchen painting and interior painting as a whole is a project best left to professional painting contractors, in our opinion. It requires training, skills, experience and the right tools to effectively execute it. Unless you understand what you’re doing, things can get sticky and messy really fast. However, if you’re a DIY enthusiast and feels like kitchen painting can be a great weekend challenge, here are some tips for achieving quality, effective, flawless and durable paint job.
Choosing The Paint –Type, And Color
It might not seem like it, but choosing the paint is one of the biggest decisions you will have to make. There’re mainly two types of paint to choose from – oil-based paint and latex paint. Oil-based paint is very resistant to water, one of the reasons it’s preferred for the kitchen. Due to its shiny nature, most painters use it on doors, cabinets, and woodwork. Latex paint, on the other hand, is more commonly used on the kitchen walls. When it comes to color, the most popular options include grey, green, blue, yellow, red and white. Blue, white, green and gray are great when looking to create a low-key, calming atmosphere. Red can feel a little intense while yellow tends to be cheerful, creating a welcoming atmosphere –and both are believed to stimulate the appetite. Generally, make sure there is some contrast between the kitchen walls and kitchen cabinets, and your kitchen trim stands out.
Choose The Right Paint Finish
Most homeowners hardly give the paint finish a thought. Considering your kitchen is a busy and high-traffic area, choosing the right paint finish can mean the difference between premature paint failure and impressive durability. Paints are available in different finishes, from high-gloss to flat. Generally, the glossier the paint finish, the easier it is to clean. So a satin to semi-gloss finish is most likely your best bet here
Prep Work is Key
If it’s been a while since you last painted your kitchen, chances are it’s showing significant signs of paint failure with traces of stains, smoke, grease, dirt and so on. Painting directly over such a surface condition often leads to poor paint adhesion, unappealing finish and reduced paint durability. So start by thoroughly cleaning the surface, strip off any loose paint and sand any rough paint ages to a smooth finish.
Mask and Cover
It’s going to be messy, especially now that things have taken the DIY direction. So, move all the movable items away from the walls and place a covering sheet, cartons or drop cloths on the floor to minimize paint platters. Apply masking tape to the trim before painting the walls and drape large objects such as appliances, cabinets, and tables using plastic sheets or canvas.
Don’t Skip The Primer
The primer increases paint adhesion, blocks, and seals in dark colors and stains, and improves paint coverage. If you’re particularly making a drastic color change, priming will facilitate a smooth transition. Apply a coat of primer after the prep to increase your paint’s durability and achieve a better final look.
The Bottom Line
Repainting your kitchen requires that you choose a high-quality and right paint, perform thorough surface preparation and remember to apply a primer before adding two coats of paint.
If you need any help with your kitchen painting project in San Diego, Peek Brothers Painting can help. Simply book a free estimate appointment or give us a call (858) 505-1361 to get started.

